
Learn to construct a fantastic recreation in Flutter with Flame. On this tutorial, you’ll construct a digital world with a movable and animated character.
Replace be aware: Brian Moakley up to date this tutorial for Flutter 3.3 and Dart 2.18. Vincenzo Guzzi wrote the unique.
Flutter is altering the world by bringing quick, natively compiled software program to the lots. This permits indie builders to launch functions for each platform in the identical time it could often have taken a software program firm. It’s solely pure that recreation builders wish to make the most of that, too.
Historically, a cellular recreation developer would wish to decide on between native efficiency however sluggish growth time or constructing with a multi-platform instrument like Unity however danger sluggish loading instances and huge app sizes.
If solely there have been a technique to develop stunning native video games with out all of the bloat. That’s the place Flame is available in.
At the moment, you’ll construct a digital world utilizing Flutter and the Flame engine. You’ll discover ways to:
- Use Flame model 1.5 to make a recreation for the net, Android and iOS.
- Use a recreation loop.
- Create a movable participant character.
- Animate your character with sprite sheets.
- Add field collision by studying from a tile map.
Getting Began
You’ll develop a recreation referred to as RayWorld, a 2-D orthographic recreation within the fashion of old-school Pokemon.

Utilizing an older recreation engine written in one thing like C++, a tutorial like this may span over three or 4 sequence. However with the facility of Flutter and the Flame engine mixed, you’ll create all this in only one.
You’ll want the starter mission to finish this tutorial. Obtain it by clicking the Obtain Supplies button on the prime or backside of the tutorial.
Construct and run your mission in your most well-liked IDE. This tutorial will use Visible Studio Code.
You’ll see a clean display screen with a joypad within the backside proper nook:

What you see right here is rendered purely with Flutter; you’ll want Flame to construct the remainder of your elements.
The Flame Recreation Engine
Flame — a light-weight recreation engine constructed on prime of Flutter — provides recreation builders a set of instruments corresponding to a recreation loop, collision detection and sprite animations to create 2-D video games.
This tutorial will use Flame 1.5.
The Flame engine is modular, permitting customers to choose and select which API’s they wish to use, corresponding to:
- Flame – The core bundle, which provides the sport loop, primary collision detection, Sprites and elements.
- Forge2D – A physics engine with superior collision detection, ported from Box2D to work with Flame.
- Tiled – A module for simply working with tile maps in Flame.
- Audio – A module that provides audio capabilities into your Flame recreation.
Flame harnesses the facility of Flutter and gives a light-weight method to creating 2-D video games for all platforms.
Establishing Your Flame Recreation Loop
The primary part you’ll arrange in RayWorld is your Flame recreation loop. This would be the coronary heart of your recreation. You’ll create and handle all of your different elements from right here.
Open your lib folder and create a brand new file referred to as ray_world_game.dart, then add a brand new class referred to as RayWorldGame, which extends from the Flame widget FlameGame:
import 'bundle:flame/recreation.dart';

class RayWorldGame extends FlameGame {
 @override
 Future<void> onLoad() async {
   // empty
 }
}
Now to make use of your widget. Open main_game_page.dart. Add these two imports to the highest of main_game_page.dart:
import 'bundle:flame/recreation.dart';
import 'ray_world_game.dart';
Subsequent, create an occasion of your new class on the prime of MainGameState:
RayWorldGame recreation = RayWorldGame();
Now, add a GameWidget to MainGameState as the primary widget within the Stack, changing // TODO 1 with:
GameWidget(recreation: recreation),
Proper now, your recreation will do nothing. It wants some elements to render. Time so as to add a playable character!
Creating Your Participant
Add a folder in lib referred to as elements. This folder will retailer all of your Flame elements, beginning together with your participant.
Create a file in elements referred to as participant.dart. On this class, arrange your Participant class:
import 'bundle:flame/elements.dart';

class Participant extends SpriteComponent with HasGameRef {
 Participant()
     : tremendous(
         measurement: Vector2.all(50.0),
       );

 @override
 Future<void> onLoad() async {
   tremendous.onLoad();
   // TODO 1
 }
}
Your Participant extends a Flame part referred to as SpriteComponent. You’ll use this to render a static picture in your recreation. You’re setting the scale of the participant to be 50.
Through the use of the HasGameRef mixin, the Participant now has entry to the core performance of the Flame engine. Now to make use of that performance by loading the sprite.
Exchange // TODO 1 in Participant with logic to load your participant picture and set the participant’s preliminary place.
sprite = await gameRef.loadSprite('participant.png');
place = gameRef.measurement / 2;
Right here, you utilize that recreation reference from the HasGameRef mixin to load a sprite into your recreation with the picture of participant.png. This picture is positioned in your Flutter property folder. You additionally set the gamers place to be in the midst of the sport.
Return to your ray_world_game.dart file and add your new Participant part as an import on the prime of the file:
import 'elements/participant.dart';
Within the prime of RayWorldGame, create your Participant:
closing Participant _player = Participant();
Within the recreation onLoad methodology, exchange // empty with code so as to add your participant into the sport:
add(_player);
add is a brilliant necessary methodology when constructing video games with the Flame engine. It lets you register any part with the core recreation loop and finally render them on display screen. You should use it so as to add gamers, enemies, and many different issues as nicely.
Construct and run, and also you’ll see a bit of dude standing within the heart of your recreation.
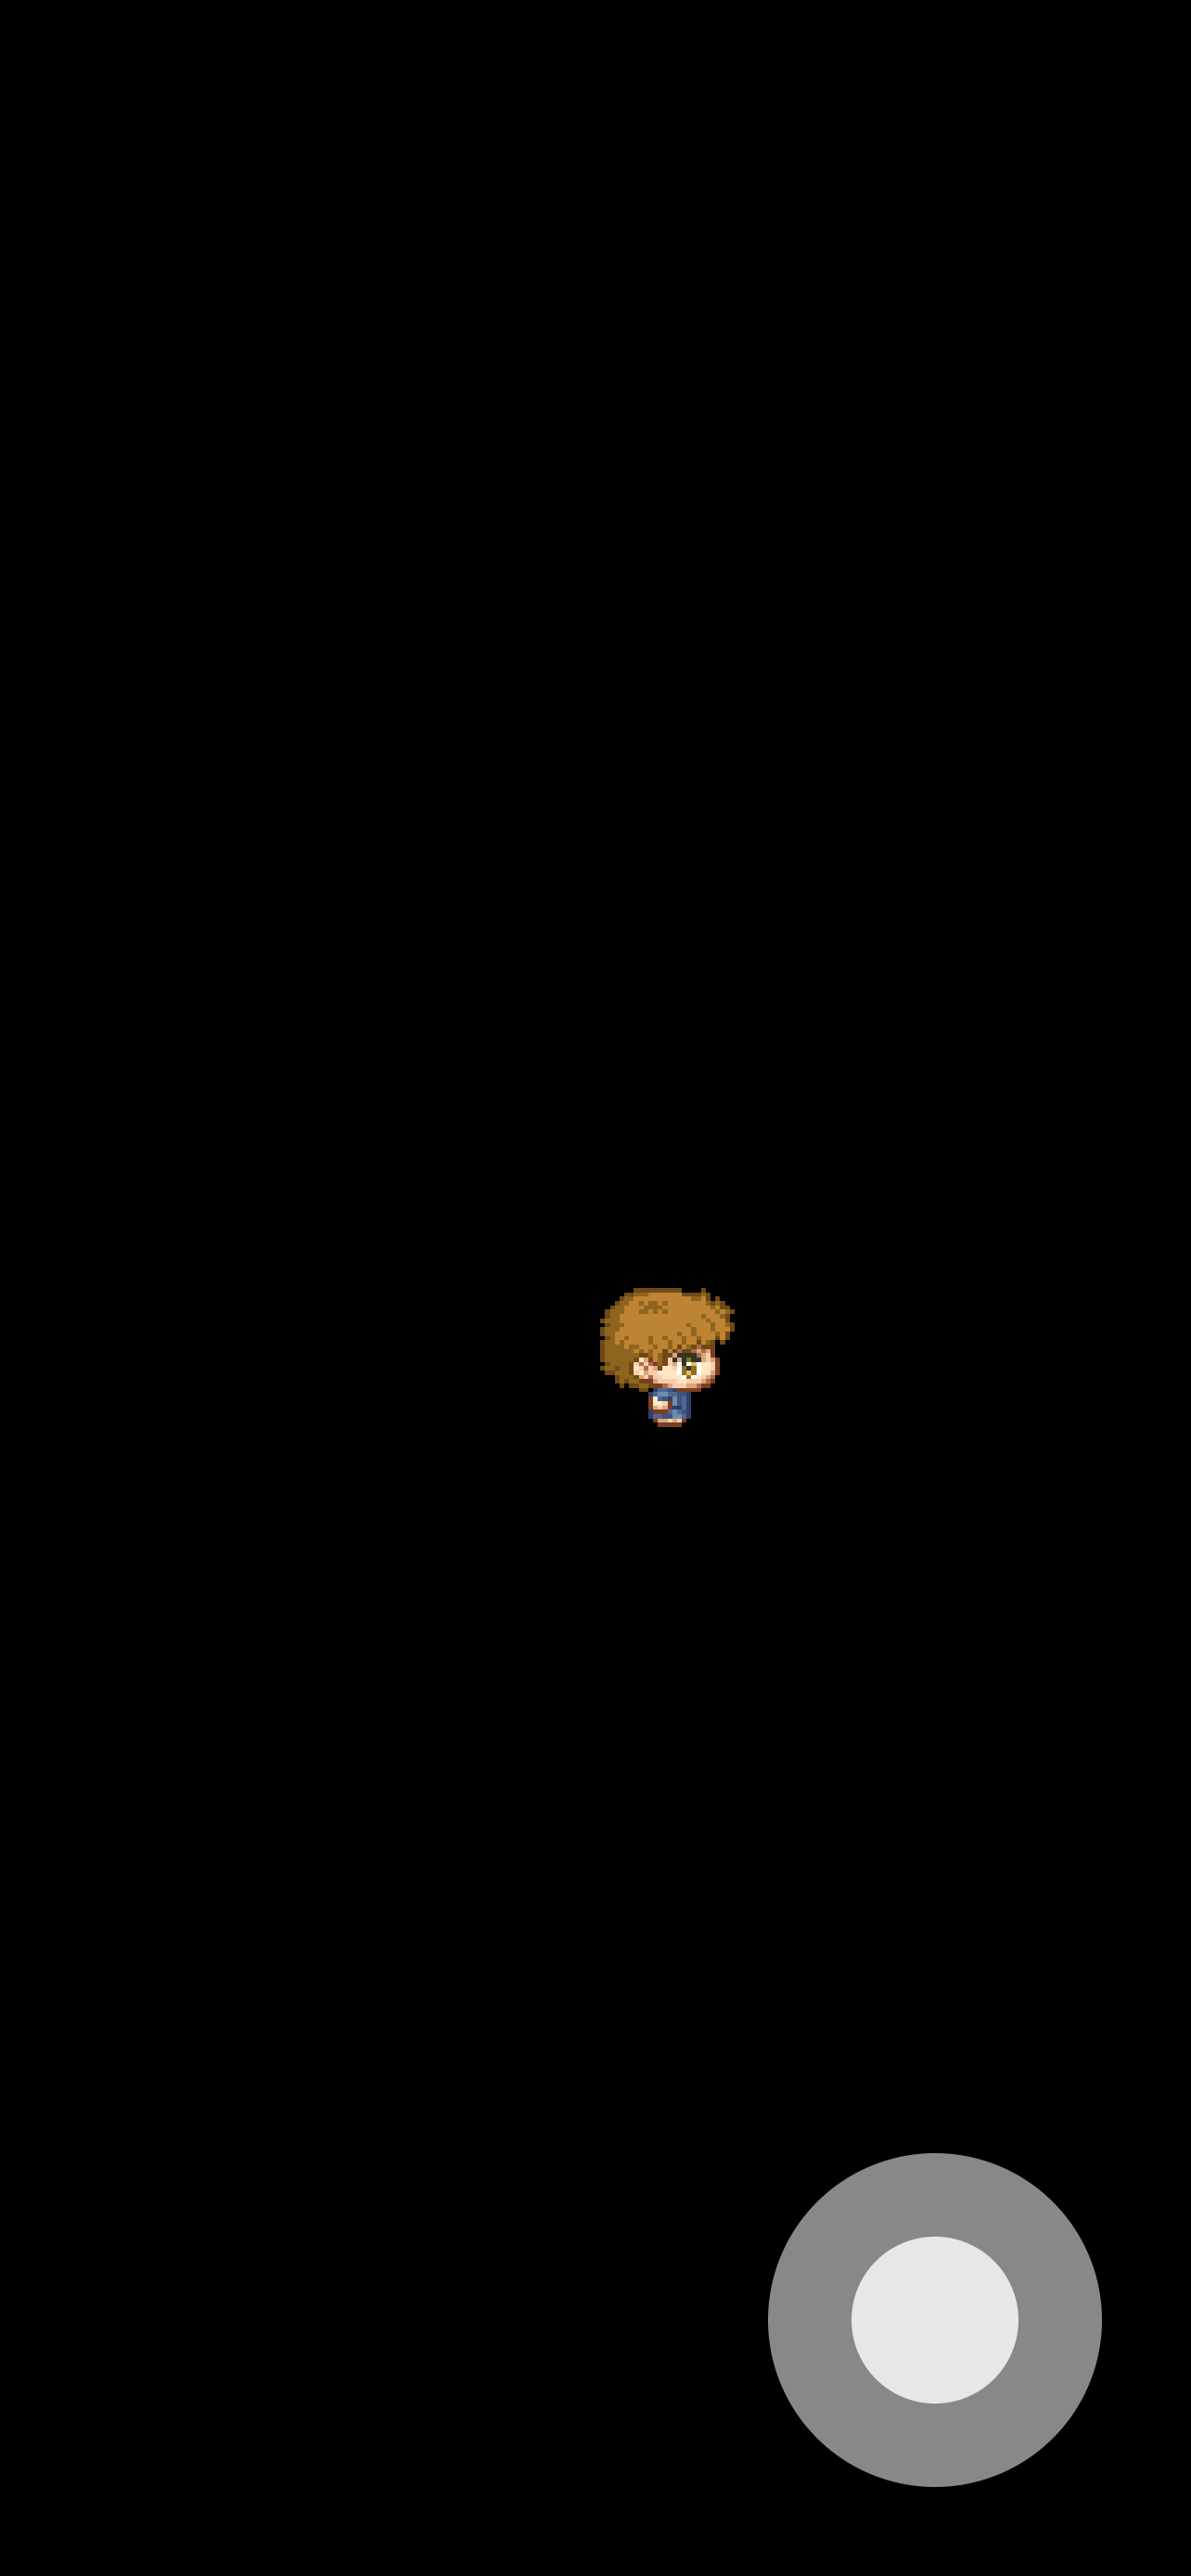
Fairly thrilling!
Now, it’s time to get your participant transferring.
Including Motion to Your Participant
To maneuver your participant, you first have to know what course the joypad is dragged.
The joypad course is retrieved from the Joypad Flutter widget that lives outdoors the sport loop. The course then will get handed to the GameWidget in main_game_page.dart. In flip, this could go it to Participant, which might react to the course change with motion.
Begin with the Participant.
Open your participant.dart file and add the import for course:
import '../helpers/course.dart';
Then, declare a Route variable within the prime of Participant and instantiate it to Route.none:
Route course = Route.none;
The joypad will change to both up, down, left, proper, or none. With every new place, you wish to replace the course variable.
Open ray_world_game.dart. Import the course.dart:
import '../helpers/course.dart';
Now add a operate to replace the course of your participant in RayWorldGame:
void onJoypadDirectionChanged(Route course) {
   _player.course = course;
}
Now, head again to main_game_page.dart and exchange // TODO 2 with a name to your recreation course operate:
recreation.onJoypadDirectionChanged(course);
And voilà, you’ve handed a person enter from a Flutter widget into your recreation and participant elements.
Now that your participant part is aware of what course it needs to be transferring in, it’s time to execute on that data and really transfer your participant!
Executing on Participant Motion
To start out appearing on the knowledge handed via to the participant part, head again to participant.dart and add these two capabilities:
@override
 void replace(double delta) {
   tremendous.replace(delta);
   movePlayer(delta);
 }

 void movePlayer(double delta) {
   // TODO
 }
replace is a operate distinctive to Flame elements. It will likely be referred to as every time a body should be rendered, and Flame will guarantee all of your recreation elements replace on the identical time. The delta represents how a lot time has handed for the reason that final replace cycle and can be utilized to maneuver the participant predictably.
Exchange // TODO within the movePlayer operate with logic to learn the course. You haven’t written the transfer strategies but. You’ll maintain that quickly sufficient. For now, you’ll should endure some compile errors:
change (course) {
  case Route.up:
    moveUp(delta);
    break;
  case Route.down:
    moveDown(delta);
    break;
  case Route.left:
    moveLeft(delta);
    break;
  case Route.proper:
    moveRight(delta);
    break;
  case Route.none:
    break;
}
movePlayer will now delegate out to different extra particular strategies to maneuver the participant. Subsequent, add the logic for transferring the participant in every course.
Begin by including a velocity variable to the highest of your Participant class:
closing double _playerSpeed = 300.0;
Now, add a moveDown operate to the underside of your Participant class:
void moveDown(double delta) {
   place.add(Vector2(0, delta * _playerSpeed));
}
Right here, you replace the Participant place worth — represented as an X and a Y inside Vector2 — by your participant velocity multiplied by the delta.
You possibly can image your recreation view drawn on a 2-D aircraft like so:

If the sport view is 2500×2500 pixels in diameter, your participant begins within the center on the coordinates of x:1250, y:1250. Calling moveDown provides about 300 pixels to the participant’s Y place every second the person holds the joypad within the down course, inflicting the sprite to maneuver down the sport viewport.
You could add the same calculation for the opposite three lacking strategies: moveUp, moveLeft and moveRight.
Now for the opposite transfer strategies:
void moveUp(double delta) {
  place.add(Vector2(0, delta * -_playerSpeed));
}

void moveLeft(double delta) {
  place.add(Vector2(delta * -_playerSpeed, 0));
}

void moveRight(double delta) {
  place.add(Vector2(delta * _playerSpeed, 0));
}
Run your utility as soon as extra, and your little dude will transfer across the display screen in all instructions based mostly in your joypad enter.
Animating Your Participant
Your participant is transferring across the display screen like a boss – however it seems to be a bit off as a result of the participant is all the time going through in the identical course! You’ll repair that subsequent utilizing sprite sheets.
What Is a Sprite Sheet?
A sprite sheet is a group of sprites in a single picture. Recreation builders have used them for a very long time to save lots of reminiscence and guarantee fast loading instances. It’s a lot faster to load one picture as a substitute of a number of photographs. Recreation engines like Flame can then load the sprite sheet and render solely a piece of the picture.
It’s also possible to use sprite sheets for animations by lining sprites up subsequent to one another in animation frames to allow them to simply be iterated over within the recreation loop.
That is the sprite sheet you’ll use to your playable character in RayWorld:
![]()
Every row is a distinct animation set and simulates transferring left, proper, up and down.
Including Sprite Sheet Animations to Your Participant
In participant.dart, change your Participant class extension from SpriteComponent to SpriteAnimationComponent as follows:
class Participant extends SpriteAnimationComponent with HasGameRef {
With this new kind of part, you’ll have the ability to set an energetic animation, which is able to run in your participant Sprite.
Import the bundle sprite.dart. You’ll want this for organising a SpriteSheet:
import 'bundle:flame/sprite.dart';
Add these six new variables to your Participant class:
closing double _animationSpeed = 0.15;
late closing SpriteAnimation _runDownAnimation;
late closing SpriteAnimation _runLeftAnimation;
late closing SpriteAnimation _runUpAnimation;
late closing SpriteAnimation _runRightAnimation;
late closing SpriteAnimation _standingAnimation;
Exchange the onLoad methodology with new logic to load your animations. We’ll outline the _loadAnimations future in only a second:
@override
 Future<void> onLoad() async {
   await _loadAnimations().then((_) => {animation = _standingAnimation});
}
_loadAnimations will probably be an async name. This methodology waits for the animations to load after which units the sprite’s first energetic animation to _standingAnimation.
Create the _loadAnimations methodology and instantiate your participant SpriteSheet:
Future<void> _loadAnimations() async {
   closing spriteSheet = SpriteSheet(
     picture: await gameRef.photographs.load('player_spritesheet.png'),
     srcSize: Vector2(29.0, 32.0),
   );

   // TODO down animation

   // TODO left animation

   // TODO up animation

   // TODO proper animation

   // TODO standing animation
 }
This code masses a sprite sheet picture out of your Flutter property folder that you simply noticed beforehand.
The picture is 116×128 pixels, and every body is 29×32 pixels. The latter is what you’re setting the srcSize SpriteSheet parameter to. Flame will use these variables to create sprites from the totally different frames in your sprite sheet picture.
Exchange // TODO down animation with logic to initialize _runDownAnimation:
_runDownAnimation =
       spriteSheet.createAnimation(row: 0, stepTime: _animationSpeed, to: 4);
This code units up an animation that loops throughout the primary row of the participant sprite sheet from the primary body till the fourth. It’s successfully a “whereas” loop that repeats from 0 till lower than 4, the place the sprite viewport strikes in 32 pixel increments throughout 4 rows.

Utilizing this logic, initialize the remainder of your animation variables.
_runLeftAnimation =
       spriteSheet.createAnimation(row: 1, stepTime: _animationSpeed, to: 4);

_runUpAnimation =
       spriteSheet.createAnimation(row: 2, stepTime: _animationSpeed, to: 4);

_runRightAnimation =
       spriteSheet.createAnimation(row: 3, stepTime: _animationSpeed, to: 4);

_standingAnimation =
       spriteSheet.createAnimation(row: 0, stepTime: _animationSpeed, to: 1);
Replace your movePlayer operate to assign the right animations based mostly on the participant’s course:
void movePlayer(double delta) {
   change (course) {
     case Route.up:
       animation = _runUpAnimation;
       moveUp(delta);
       break;
     case Route.down:
       animation = _runDownAnimation;
       moveDown(delta);
       break;
     case Route.left:
       animation = _runLeftAnimation;
       moveLeft(delta);
       break;
     case Route.proper:
       animation = _runRightAnimation;
       moveRight(delta);
       break;
     case Route.none:
       animation = _standingAnimation;
       break;
   }
 }
Construct and run, and also you’ll see your playable character has come to life as they run in every course.
At this level, you might have the basics of a recreation in place: a playable character with person enter and motion. The subsequent step is so as to add a world to your participant to maneuver round in.
Including a World
Create a file referred to as world.dart in your elements folder. In world.dart, create a SpriteComponent referred to as World and cargo rayworld_background.png because the world sprite:
import 'bundle:flame/elements.dart';

class World extends SpriteComponent with HasGameRef {
 @override
 Future<void>? onLoad() async {
   sprite = await gameRef.loadSprite('rayworld_background.png');
   measurement = sprite!.originalSize;
   return tremendous.onLoad();
 }
}
Head again to RayWorldGame. Ensure so as to add the World import.
import 'elements/world.dart';
Then add a World as a variable beneath Participant:
closing World _world = World();
Now, add _world to your recreation firstly of onLoad:
await add(_world);
You could load the world utterly earlier than loading your participant. In case you add the world afterward, it’s going to render on prime of your Participant sprite, obscuring it.
Construct and run, and also you’ll see a fantastic pixel panorama to your participant to run round in:

To your participant to traverse the world correctly, you’ll need the sport viewport to observe the principle character each time they transfer. Historically, when programming video video games, this requires a plethora of difficult algorithms to perform. However with Flame, it’s simple!
First, add the import for utilizing a Rect variable on the prime of the file. You’ll use this to calculate some bounds:
import 'dart:ui';
Now on the backside of your recreation onLoad methodology, set the participant’s preliminary place the middle of the world and inform the sport digital camera to observe _player:
_player.place = _world.measurement / 2;
   digital camera.followComponent(_player,
       worldBounds: Rect.fromLTRB(0, 0, _world.measurement.x, _world.measurement.y));
Construct and run, and also you’ll see your world sprite pan as your participant strikes. As you’ve set the worldBounds variable, the digital camera will even cease panning as you attain the sting of the world sprite. Run to the sting of the map and see for your self.

Congratulations!
You need to be pleased with your self for getting this far. You’ve coated among the core elements wanted in any recreation dev’s repertoire.
Nevertheless, there’s one closing talent you could study to have the ability to make a full recreation: Collision detection.
Including World Collision to Your Recreation
Creating Tile Maps
2-D recreation builders generally make use of tile maps. The method includes creating art work to your recreation as a group of uniform tiles you may piece collectively nonetheless wanted like a jigsaw, then making a map you need to use to inform your recreation engine which tiles go the place.
You may make tile maps as primary or as superior as you want. In a previous mission, a recreation referred to as Pixel Man used a textual content file as a tile map that seemed one thing like this:
xxxxxxxxxxx
xbooooooox
xoooobooox
xoooooooox
xoooooboox
xxxxxxxxxxx
The sport engine would learn these information and exchange x’s with partitions and b’s with collectable objects, utilizing the tile map for each logic and art work functions.
Today, software program makes the method of making a tile map much more intuitive. RayWorld makes use of software program referred to as Tiled. Tiled is free software program that allows you to create your ranges with a tile set and add extra collision layers in a graphical editor. It then generates a tile map written in JSON that may be simply learn in your recreation engine.
A tile map referred to as rayworld_collision_map.json already exists. You’ll use this JSON file so as to add collision objects into your recreation within the subsequent part. It seems to be like this within the Tiled editor:

The pink containers are the collision rectangles. You’ll use this information to create collision objects in Flame.
Creating World Collision in RayWorld
Add a file in your elements folder referred to as world_collidable.dart and create a category referred to as WorldCollidable:
import 'bundle:flame/collisions.dart';
import 'bundle:flame/elements.dart';

class WorldCollidable extends PositionComponent{
  WorldCollidable() {
    add(RectangleHitbox());
  }
}
Right here you outline a brand new class to include your world. It’s a kind of PositionComponent that represents a place on the display screen. It’s meant to symbolize every collidable space (i.e., invisible partitions) on the world map.
Open ray_world_game.dart. First add the next imports:
import 'elements/world_collidable.dart';
import 'helpers/map_loader.dart';
import 'bundle:flame/elements.dart';
Now create a technique in RayWorldGame referred to as addWorldCollision:
void addWorldCollision() async =>
     (await MapLoader.readRayWorldCollisionMap()).forEach((rect) {
       add(WorldCollidable()
         ..place = Vector2(rect.left, rect.prime)
         ..width = rect.width
         ..peak = rect.peak);
     });
Right here, you utilize a helper operate, MapLoader, to learn rayworld_collision_map.json, positioned in your property folder. For every rectangle, it creates a WorldCollidable and provides it to your recreation.
Name your new operate beneath add(_player) in onLoad:
await add(_world);
add(_player);
addWorldCollision(); // add
Now to register collision detection. Add the HasCollisionDetection mixin to RayWorldGame. You’ll have to specify this if you need Flame to construct a recreation that has collidable sprites:
class RayWorldGame extends FlameGame with HasCollisionDetection
You’ve now added all of your collidable sprites into the sport, however proper now, you received’t have the ability to inform. You’ll want to include extra logic to your participant to cease them from transferring once they’ve collided with one among these objects.
Open participant.dart. Add the CollisionCallbacks mixin after with HasGameRef subsequent to your participant class declaration:
class Participant extends SpriteAnimationComponent with HasGameRef, CollisionCallbacks
You now have entry to onCollision and onCollisionEnd. Add them to your Participant class:
@override
void onCollision(Set<Vector2> intersectionPoints, PositionComponent different) {
  tremendous.onCollision(intersectionPoints, different);
  // TODO 1
}

@override
void onCollisionEnd(PositionComponent different) {
  tremendous.onCollisionEnd(different);
  // TODO 2
}
Create and add a HitboxRectangle to your Participant within the constructor. Like your WorldCollision elements, your participant wants a Hitbox to have the ability to register collisions:
Participant()
     : tremendous(
         measurement: Vector2.all(50.0),
       ) {
   add(RectangleHitbox());
 }
Add the WorldCollidable import above your class:
import 'world_collidable.dart';
Now, add two variables into your Participant class to assist monitor your collisions:
Route _collisionDirection = Route.none;
bool _hasCollided = false;
You possibly can populate these variables within the two collision strategies. Go to onCollision and exchange // TODO 1 with logic to gather collision data:
if (different is WorldCollidable) {
  if (!_hasCollided) {
    _hasCollided = true;
    _collisionDirection = course;
  }
}
Set _hasCollided again to false in onCollisionEnd, changing // TODO 2:
_hasCollided = false;
Participant now has all the knowledge it must know whether or not it has collided or not. You should use that data to ban motion. Add these 4 strategies to your Participant class:
bool canPlayerMoveUp() {
  if (_hasCollided && _collisionDirection == Route.up) {
    return false;
  }
  return true;
}

bool canPlayerMoveDown() {
  if (_hasCollided && _collisionDirection == Route.down) {
    return false;
  }
  return true;
}

bool canPlayerMoveLeft() {
  if (_hasCollided && _collisionDirection == Route.left) {
    return false;
  }
  return true;
}

bool canPlayerMoveRight() {
  if (_hasCollided && _collisionDirection == Route.proper) {
    return false;
  }
  return true;
}
These strategies will test whether or not the participant can transfer in a given course by querying the collision variables you created. Now, you need to use these strategies in movePlayer to see whether or not the participant ought to transfer:
void movePlayer(double delta) {
  change (course) {
    case Route.up:
      if (canPlayerMoveUp()) {
        animation = _runUpAnimation;
        moveUp(delta);
      }
      break;
    case Route.down:
      if (canPlayerMoveDown()) {
        animation = _runDownAnimation;
        moveDown(delta);
      }
      break;
    case Route.left:
      if (canPlayerMoveLeft()) {
        animation = _runLeftAnimation;
        moveLeft(delta);
      }
      break;
    case Route.proper:
      if (canPlayerMoveRight()) {
        animation = _runRightAnimation;
        moveRight(delta);
      }
      break;
    case Route.none:
      animation = _standingAnimation;
      break;
  }
}
Rebuild your recreation and attempt to run to the water’s edge or right into a fence. You’ll discover your participant will nonetheless animate, however you received’t have the ability to transfer previous the collision objects. Strive working between the fences or barrels.

Bonus Part: Keyboard Enter
As a result of RayWorld is constructed with Flutter, it could actually additionally run as an internet app. Typically, for net video games, folks wish to use keyboard enter as a substitute of a joypad. Flame has an interface referred to as KeyboardEvents you may override in your recreation object to obtain notification of keyboard enter occasions.
For this bonus part, you’ll hear for keyboard occasions for the up, down, left and proper arrows, and use these occasions to set the participant’s course. You’ll really use the instruments offered Flutter itself. Add the next imports:
import 'bundle:flutter/widgets.dart';
import 'bundle:flutter/companies.dart';
Now, in RayWorldGame, override the onKeyEvent methodology:
@override
KeyEventResult onKeyEvent(
    RawKeyEvent occasion,
    Set<LogicalKeyboardKey> keysPressed,
  ) {
    closing isKeyDown = occasion is RawKeyDownEvent;
    Route? keyDirection;

  // TODO 1

  // TODO 2

  return tremendous.onKeyEvent(occasion, keysPressed);
}
Exchange // TODO 1 with logic to learn RawKeyEvent and set the keyDirection:
if (occasion.logicalKey == LogicalKeyboardKey.keyA) {
  keyDirection = Route.left;
} else if (occasion.logicalKey == LogicalKeyboardKey.keyD) {
  keyDirection = Route.proper;
} else if (occasion.logicalKey == LogicalKeyboardKey.keyW) {
  keyDirection = Route.up;
} else if (occasion.logicalKey == LogicalKeyboardKey.keyS) {
  keyDirection = Route.down;
}
Right here, you might be listening for key adjustments with the keys W, A, S and D and setting the corresponding motion course.
Now, exchange // TODO 2 with logic to alter the participant’s course:
if (isKeyDown && keyDirection != null) {
  _player.course = keyDirection;
} else if (_player.course == keyDirection) {
  _player.course = Route.none;
}
The participant’s course is being up to date if a secret’s being pressed, and if a secret’s lifted the gamers course is about to Route.none if it’s the energetic course.
Launch your recreation on the net or an emulator, and also you’ll now have the ability to run round utilizing the W, A, S and D keys in your keyboard.
The place to Go From Right here?
You possibly can obtain the finished mission information by clicking the Obtain Supplies button on the prime or backside of the tutorial.
You now have all of the instruments to make a whole 2-D recreation utilizing the Flame Engine. However why cease there? You would attempt including:
- Extra recreation UI: Incorporate UI parts corresponding to a participant well being bar, an assault button and a bounce button. You would construct these utilizing a Flame part or a Flutter Widget.
- Enemies: Populate RayWorld with enemies corresponding to goblins or aggressive animals that might assault your participant.
- Completely different ranges: Load new world sprites and tile maps into your recreation because the participant leaves the world.
Take a look at the awesome-flame GitHub repository to see what video games have already been developed utilizing the Flame Engine and to learn another nice Flame tutorials. Ensure to remain tuned to raywenderlich.com for extra nice recreation growth tutorials.


